I have used the word "tile" many times in this blog without defining it, or giving you directions in how to create one, so this blogpost is going to be all about "tiles." In the Zentangle Language, a "tile" is anything you draw patterns, called 'tangles" on...It could be a piece of paper, a t-shirt, or a vehicle! In this blog, some of the "tiles" have been created on a square of watercolor paper that is 3.5 x 3.5 inches square, as pictured here. The founders of zentangle chose that size because it fits in the back pocket of a pair of jeans. The first tiles had square corners, until one tile stayed in the back pocket of a pair of jeans that went through the laundry. After going through the washing machine and the dryer, the tile survived, but not the square corners. As a result, official Zentangle tiles have rounded corners. You can purchase official Zentangle Tiles at www.zentangle.com.
Maria Thomas and Rick Roberts, the founders of zentangle, know that it can be hard to get started on a piece of art, so they gave us the following eight steps to create a tile.
Step 1 is to stop, take a few deep breaths and give yourself time to feel gratitude and appreciation for the materials and time you have to engage in this method of drawing.
Step 2 is to use a pencil to lightly draw a dot in each corner of the tile. (I drew mine very dark, so you could see them.)
Step 3 is to use a pencil to lightly connect the dots. Now you have a border for your art.
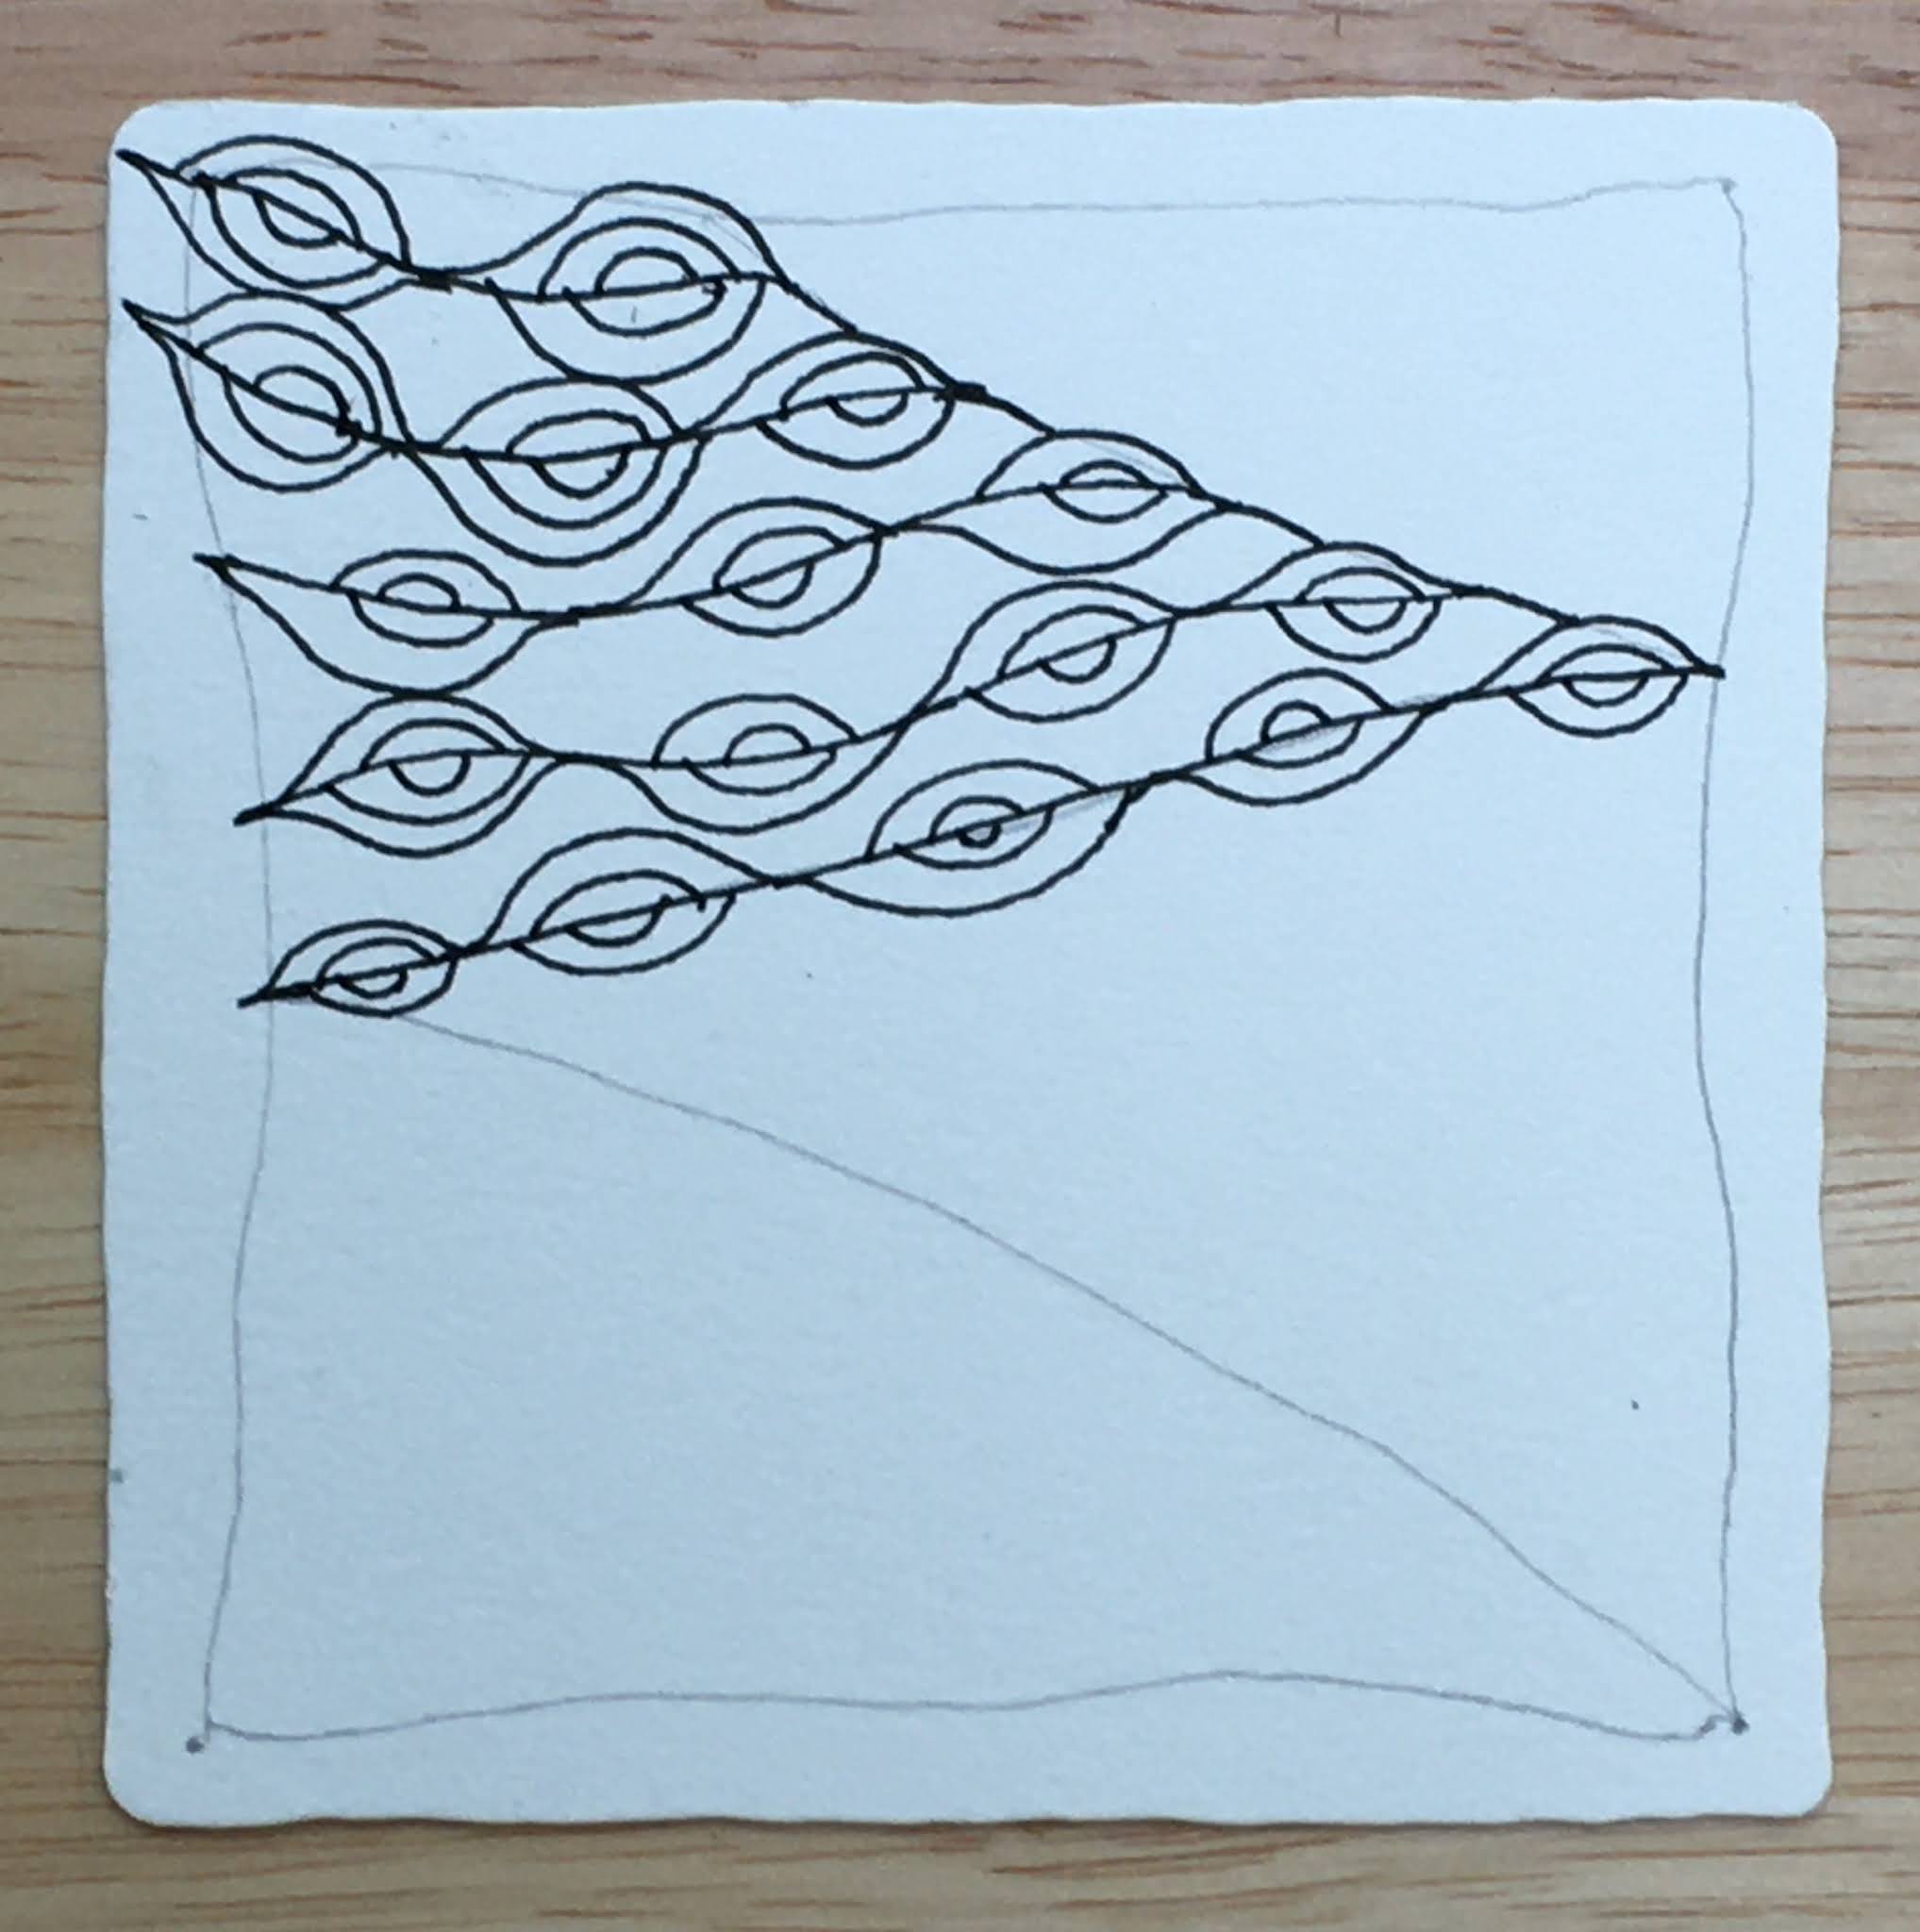
Step 4 is to use a pencil to draw one, or more, lines to separate the area inside the border into sections. This line, or lines, are called a "string." (I drew the letter "z" creating 4 sections on my tile.)
Step 5 is drawing a tangle in each section. I filled the first section with Aura-Leah.
I filled the third section with Rain.
I drew one ribbon of Shattuck in the fourth section, leaving the rest of the section for another tangle.
I drew Printemps in the rest of the fourth section and even past the border in some places. (The border and the string are just suggestions, which is why they are drawn in pencil. It's perfectly fine to "draw outside the lines' in Zentangle!)
Step 6 is to use your pencil to add gray creating shadows and dimension to your tile.
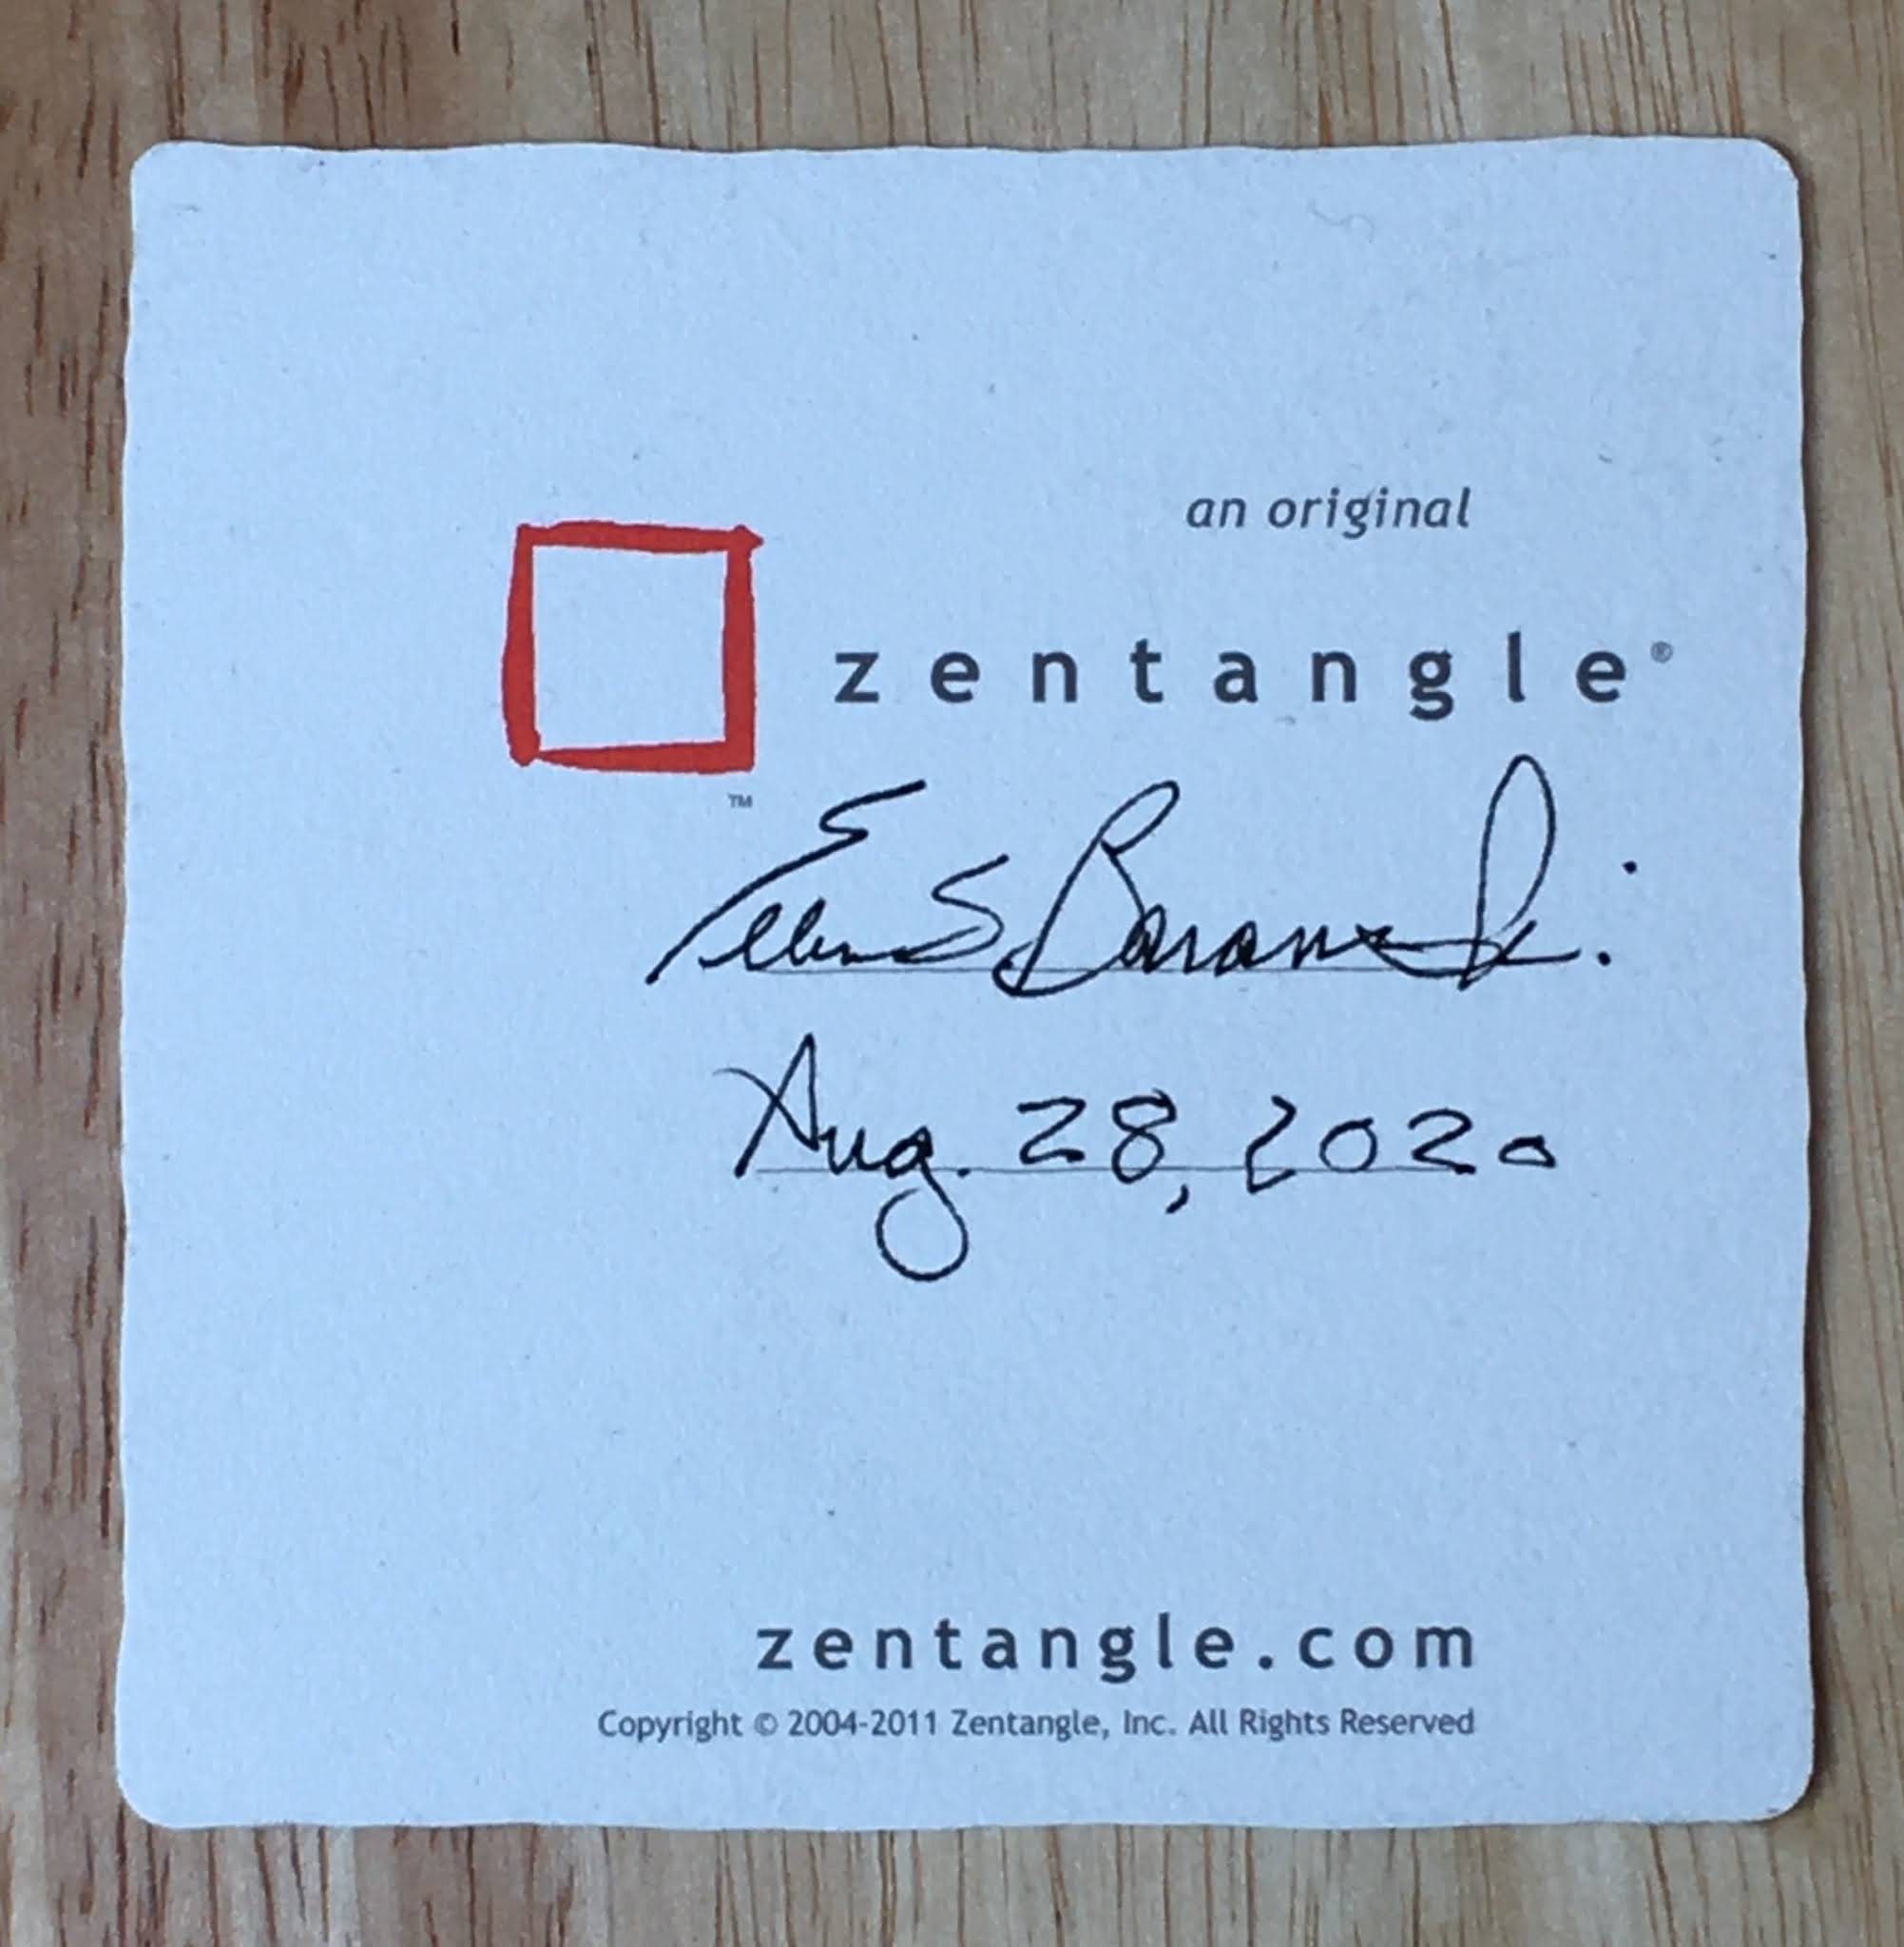
Step 7 is to initial the front of your tile and
sign and date the back of your tile. (This is an official Zentangle Tile so it has a line for your signature and a line for the date. It also has the Zentangle Logo and the website.)Step 8 is to sit back and appreciate the art you have created! Hold it at arm's length and turn in different ways. Since this is abstract art, it has no up or down, or right or left!


No comments:
Post a Comment