Hollibaugh Tangle
Tangle Authors: Rick Roberts and Maria Thomas
Materials needed for this lesson: Pencil and piece of paper (I divided a sheet of 8.5 x 11 inch piece of plain white paper into fourths by folding it in half lengthwise and then folding it in half again width-wise. I drew my tangle on one-fourth of the paper.)
Video Instructions for Hollibaugh: Part 1, drawing the lines.
Video Instructions for Hollibaugh: Part 2, shading.
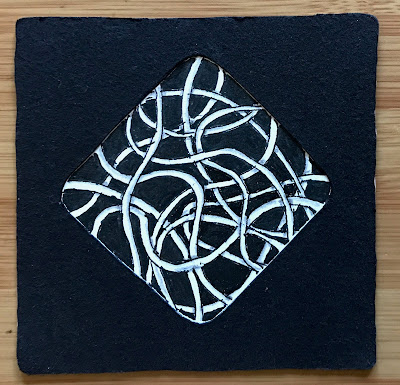
Terri created this 3.5 inch square tile by drawing a variation of Hollibaugh: curved lines on a background colored in with a black marker.
Ellen created this 12 inch square tile by drawing traditional Hollibaugh - straight lines, and variations of Hollibaugh - curved lines and bent lines. She also created backgrounds shaded with a pencil, darkened in with a black marker, and spirals.
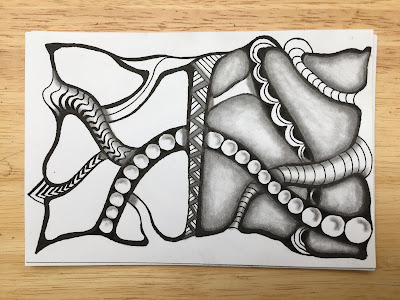
Ellen created this 4 inch by 6 inch tile by drawing a variation of Hollibaugh: curved lines. She used a pencil and a black marker to create the background.
Ellen photocopied the 4 inch by 6 inch black and white tile and then used colored fine-point Sharpies to add details. In addition to Hollibaugh, this tile contains Printemps and Crescent Moon tangles.
Ellen photocopied the 4 inch by 6 inch black and white tile and then used a pencil to add shading to the background on half of the tile. In addition to Hollibaugh, this tile contains Shattuck and Crescent Moon tangles.
Terri created this Hollibaugh tile by weaving the lines together. She chose Printemps for the background.


No comments:
Post a Comment