
Shattuck
Tangle Authors: Rick Roberts and Maria Thomas
Materials needed for this lesson: Pencil and piece of paper (I divided a sheet of 8.5 x 11 inch piece of plain white paper into fourths by folding it in half lengthwise and then folding it in half again width-wise. I drew my tangle on one-fourth of the paper.)
Video Instructions for drawing Straight-Line Shattuck
These videos are solely the property of Ellen Baranowski and Terri Mittenthal Certified Zentangle Teachers acting with permission for Zentangle.Inc and may not be copied, recorded, reproduced or otherwise used with out the express prior written consent of Zentangle Inc.
Video Instructions for drawing Curved-Line Shattuck
These videos are solely the property of Ellen Baranowski and Terri Mittenthal Certified Zentangle Teachers acting with permission for Zentangle.Inc and may not be copied, recorded, reproduced or otherwise used with out the express prior written consent of Zentangle Inc.
These videos are solely the property of Ellen Baranowski and Terri Mittenthal Certified Zentangle Teachers acting with permission for Zentangle.Inc and may not be copied, recorded, reproduced or otherwise used with out the express prior written consent of Zentangle Inc.
****************************************************
Shading Tools


Shading is NOT necessary, but I think it adds dimension and character to my art.
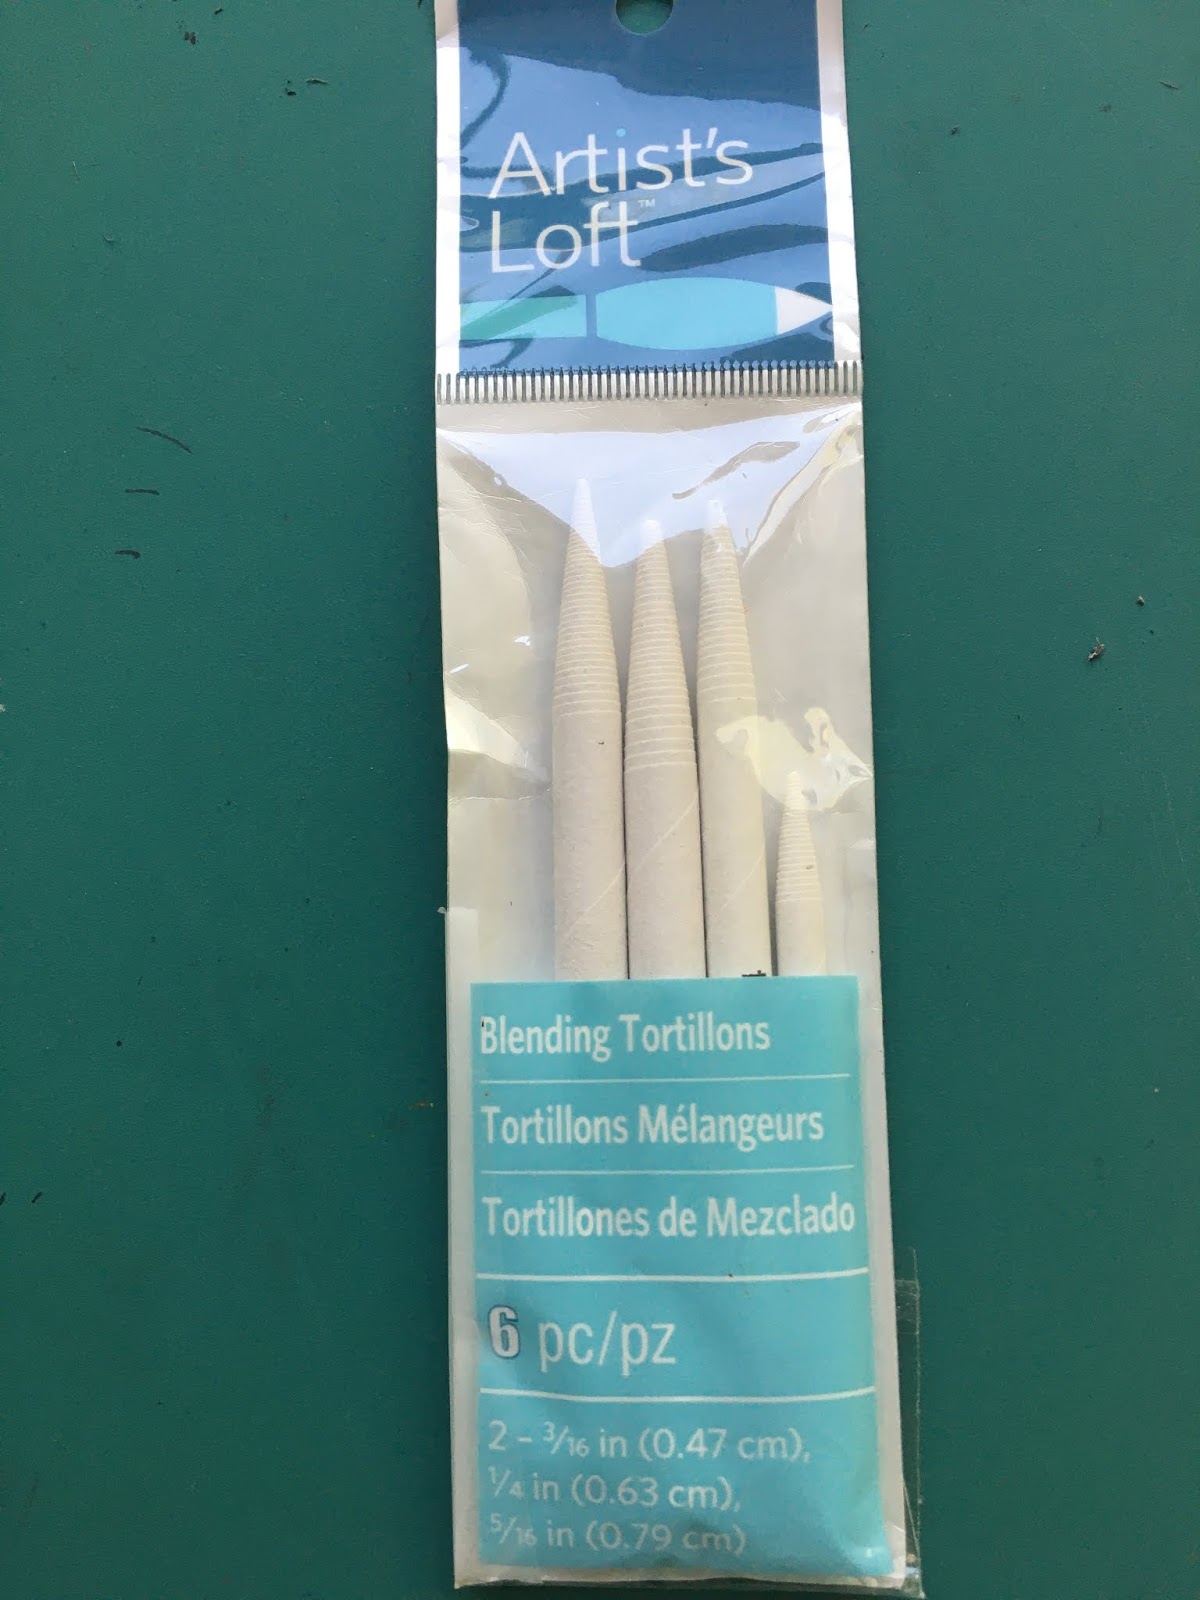
I use a tortillon for shading. I buy a package of them at my local arts and crafts store. Tortillons come in different sizes. I like the smaller ones. When the "tip" of the tortillon gets dull, I "sharpen" it on a piece of course sandpaper.
The instruction videos below show you how to shade straight-line and curved-line Shattuck.
These videos are solely the property of Ellen Baranowski and Terri Mittenthal Certified Zentangle Teachers acting with permission for Zentangle.Inc and may not be copied, recorded, reproduced or otherwise used with out the express prior written consent of Zentangle Inc.
These videos are solely the property of Ellen Baranowski and Terri Mittenthal Certified Zentangle Teachers acting with permission for Zentangle.Inc and may not be copied, recorded, reproduced or otherwise used with out the express prior written consent of Zentangle Inc.
************************************************************************
 | ||||||||||||||||
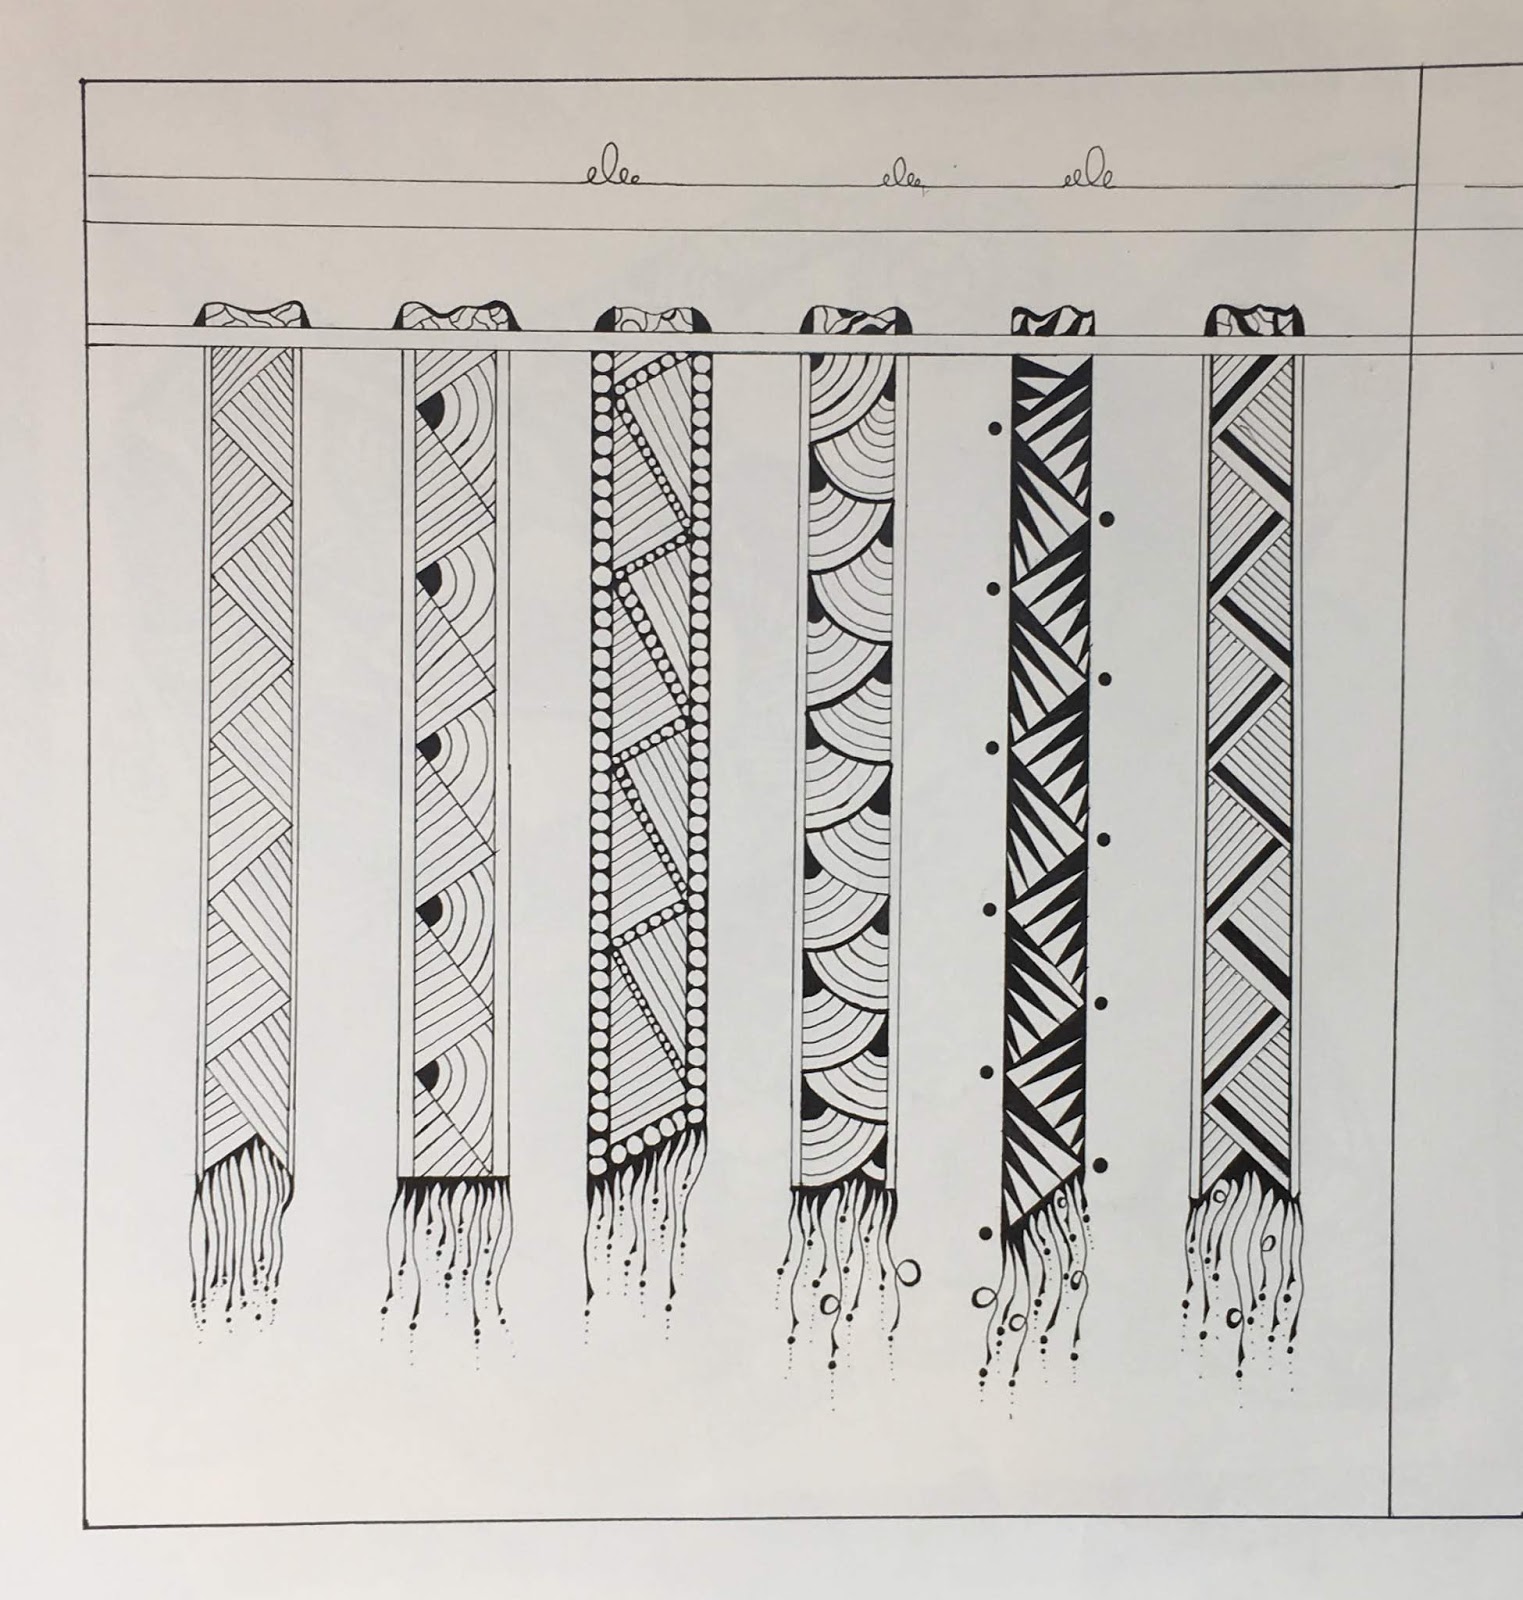
This work of art was created by Terri. She drew "ribbons" of Shattuck. If you look carefully, you can see that on one side of each 'ribbon' she drew and shaded Straight-Line Shattuck, and on the other side, she drew and shaded Curved-Line Shattuck! You can also see her signature "chop," TM.
|


No comments:
Post a Comment